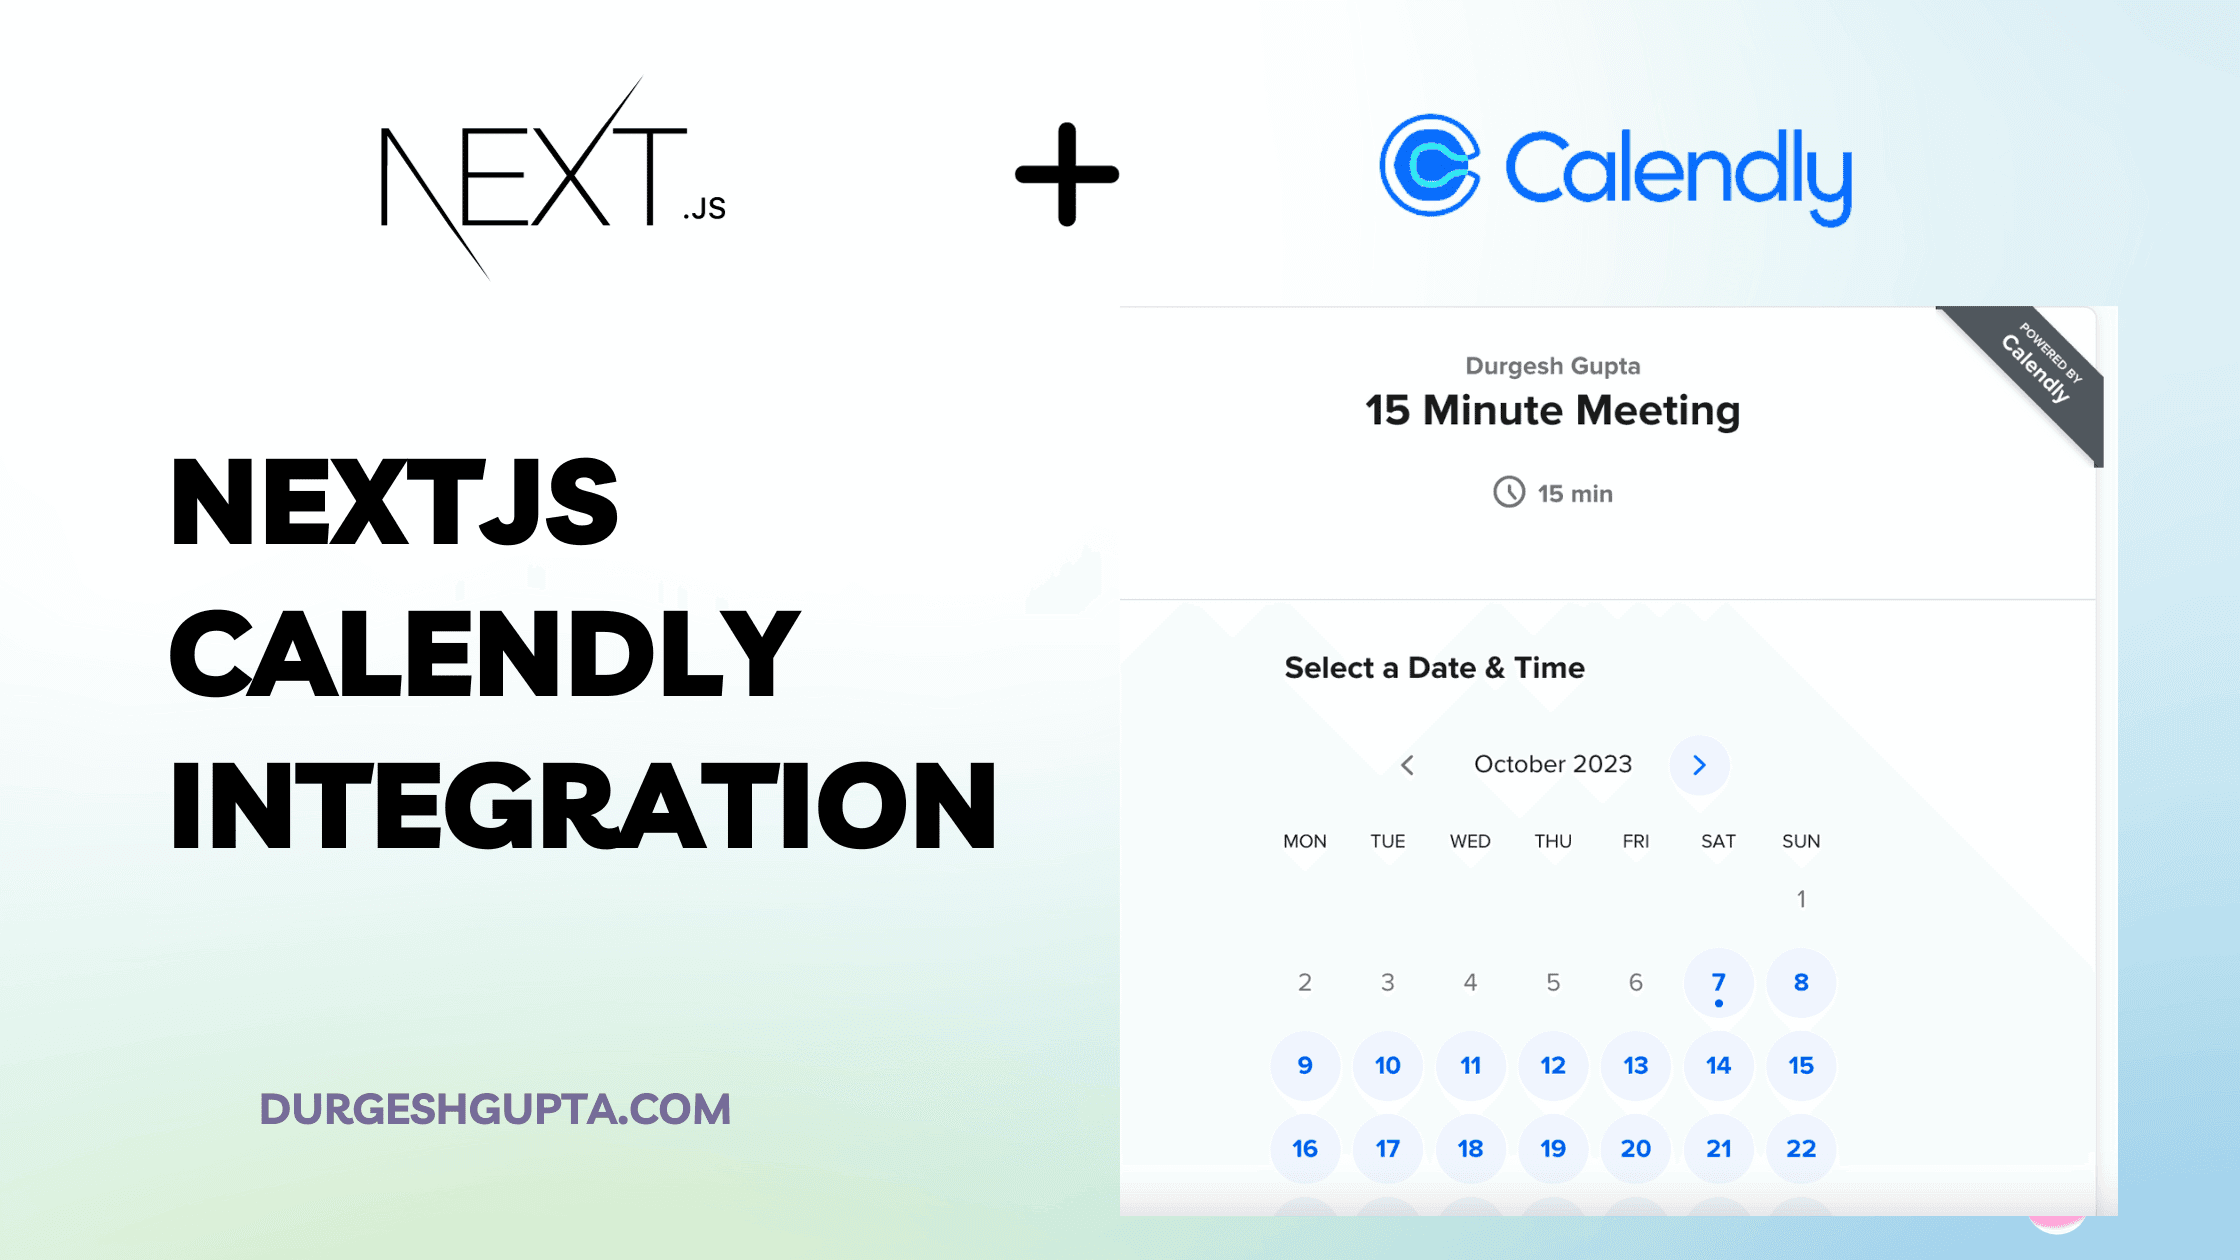
Integrate Calendly with Next.js: Step-by-Step Guide

How to Create a Calendly Event Component in Next.js
Next.js, a popular React framework, offers a streamlined way to build web applications with server-side rendering and static site generation. If you're looking to integrate a scheduling solution, such as Calendly, into your Next.js app, you've come to the right place. In this tutorial, we'll walk through creating a Calendly event component in a Next.js application.
Prerequisites:
- A basic understanding of React and Next.js.
- A Calendly account with an event created.
- Next.js project set up (if not, you can quickly initialize one using
npx create-next-app).
Step-by-step guide:
1. Get your Calendly embed code:
Login to your Calendly account, navigate to the "Event Types" tab, and choose the event you want to embed. Click on the "Share" button and then "Embed". Choose the "Inline" option and copy the provided script.
2. Create a new component for the Calendly embed:
In your Next.js project:
mkdir components
touch components/CalendlyEmbed.js
Open the CalendlyEmbed.js file:
import React, { useEffect } from "react";

const CalendlyEmbed = ({ url }) => {
  useEffect(() => {
    const head = document.querySelector("head");
    const script = document.createElement("script");
    script.setAttribute(
      "src",
      "https://assets.calendly.com/assets/external/widget.js"
    );
    head.appendChild(script);
  }, []);

  return (
    <div
      className="calendly-inline-widget"
      data-url={url}
      style={{ minHeight: "650px", width: "100%" }}
    ></div>
  );
};

export default CalendlyEmbed;
In this component, we're dynamically loading the Calendly widget script when the component mounts.
3. Use the CalendlyEmbed component:
Now, you can use the CalendlyEmbed component in any of your Next.js pages. For instance, in pages/index.js:
import CalendlyEmbed from "../components/CalendlyEmbed";

export default function Home() {
  return (
    <div className="container">
      <h1>Schedule an Appointment</h1>
      <CalendlyEmbed url="YOUR_CALENDLY_EVENT_LINK_HERE" />
    </div>
  );
}
Replace YOUR_CALENDLY_EVENT_LINK_HERE with your actual Calendly event link.
4. Style as needed:
You can style the Calendly component using CSS or any styling solution you prefer, like styled-components or Tailwind CSS.
Conclusion:
Integrating Calendly into a Next.js application is straightforward. By creating a reusable component, you can embed your scheduling links throughout your application with ease. This integration enhances user experience, as users can seamlessly schedule appointments without leaving your site. Happy scheduling!
